Apache2 Setup
Step 1 — Installing Apache
Apache is available within Ubuntu’s default software repositories, making it possible to install it using conventional package management tools.
Let’s begin by updating the local package index to reflect the latest upstream changes:
sudo apt updateThen, install the apache2 package:
sudo apt install apache2After confirming the installation, apt will install Apache and all required dependencies.
Step 2 — Checking your Web Server
At the end of the installation process, Ubuntu 20.04 starts Apache. The web server should already be up and running.
Check with the systemd init system to make sure the service is running by typing:
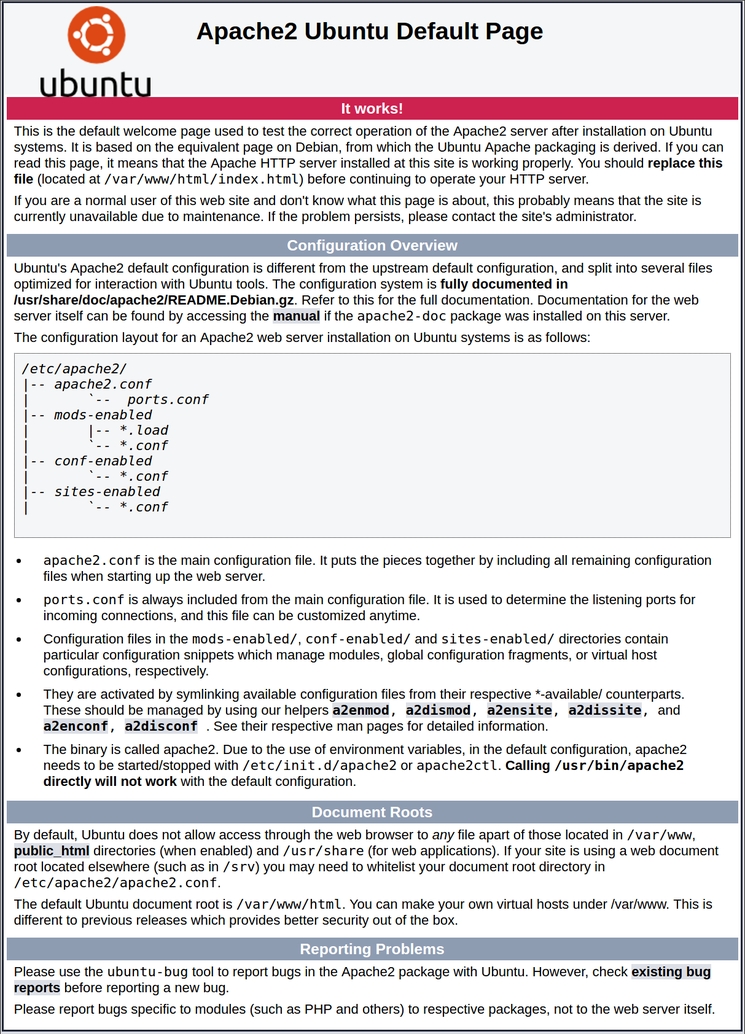
sudo systemctl status apache2When you have your server’s IP address, enter it into your browser’s address bar:
http://your_server_ipYou should see the default Ubuntu 20.04 Apache web page:
Managing the Apache Process
Now that you have your web server up and running, let’s go over some basic management commands using systemctl.
To stop your web server, type:
To start the web server when it is stopped, type:
To stop and then start the service again, type:
If you are simply making configuration changes, Apache can often reload without dropping connections. To do this, use this command:
By default, Apache is configured to start automatically when the server boots. If this is not what you want, disable this behavior by typing:
To re-enable the service to start up at boot, type:
Apache should now start automatically when the server boots again.
Last updated