Github Introduction
Create a branch
Your first branch
Open a new browser tab, and navigate to this same repository. Then, work on the steps in your second tab while you read the instructions in this tab.
Navigate to the Code tab.
Click on the main branch drop-down.

In the field, enter a name for your branch:
my-first-branch.Click Create branch: my-first-branch to create your branch.
Move on to Step 2!

Commit a file
The following steps will guide you through the process of committing a change on GitHub. Committing a change requires first adding a new file to your new branch.
On the Code tab, make sure you're on your new branch
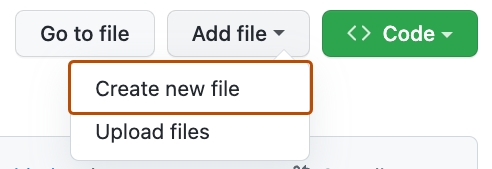
my-first-branch.Select the Add file drop-down and click Create new file.
In the Name your file... field, enter
PROFILE.md.In the Edit new file area, copy the following content to your file:
Welcome to my GitHub profile!
For commits, you can enter a short commit message that describes what you changes you made. This helps others know what's included in your commit. GitHub offers a simple default message, but let's change it slightly for practice. Enter
Adding PROFILE.mdin the first text-entry field below Commit new file. Then, if you want to confirm what your screen should look like, expand the dropdown below.In this lesson, we'll ignore the other fields and click Commit new file.


Open a pull request
You may have noticed after your commit that a message displayed indicating your recent push to your branch and providing a button that says Compare & pull request.

If you want, feel free to click Compare & pull request, and then skip to step 6 below. If you don't click the button, the instructions below walk you through manually setting up the pull request.
Click on the Pull requests tab in your repository.
Click New pull request.
In the base: dropdown, make sure main is selected.
Select the compare: dropdown, and click
my-first-branch.
Click Create pull request.
Enter a title for your pull request:
Add my first file.The next field helps you provide a description of the changes you made. Feel free to add a description of what you’ve accomplished so far. As a reminder, you have: created a branch, created a file and made a commit!
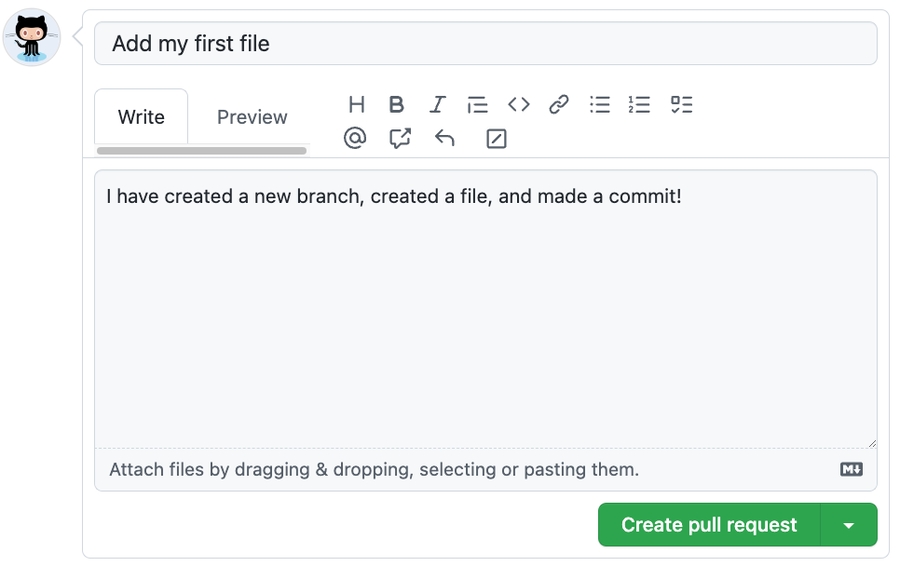
Click Create pull request.
Move on to Step 4!


Merge your pull request
Click Merge pull request.
Click Confirm merge.
Once your branch has been merged, you don't need it anymore. To delete this branch, click Delete branch.


Last updated